
How to Properly Maintain the Ceramic Tile Drilling Tools to Extend Their Service Life
The core of any successful tile laying project is the tile drilling tool, which determines the final outcome. To maintain the superior traditions of the TILER brand, the maintenance of these essential tools must be prioritized. By adhering to active maintenance solutions, you can not only extend the service life of the tool but also improve the process quality.
Learn About Ceramic Tile Drilling Tools
Type of Ceramic Tile Drilling Tool
Tile drilling tools come in various shapes and sizes, and each tool is designed for a specific type of tile and drilling tasks. The most common types include:
· Diamond drill bit: suitable for ceramic tiles, granite, and other hard ceramic tiles.
· Carbented drill bit: Suitable for ceramic and soft ceramic tiles.
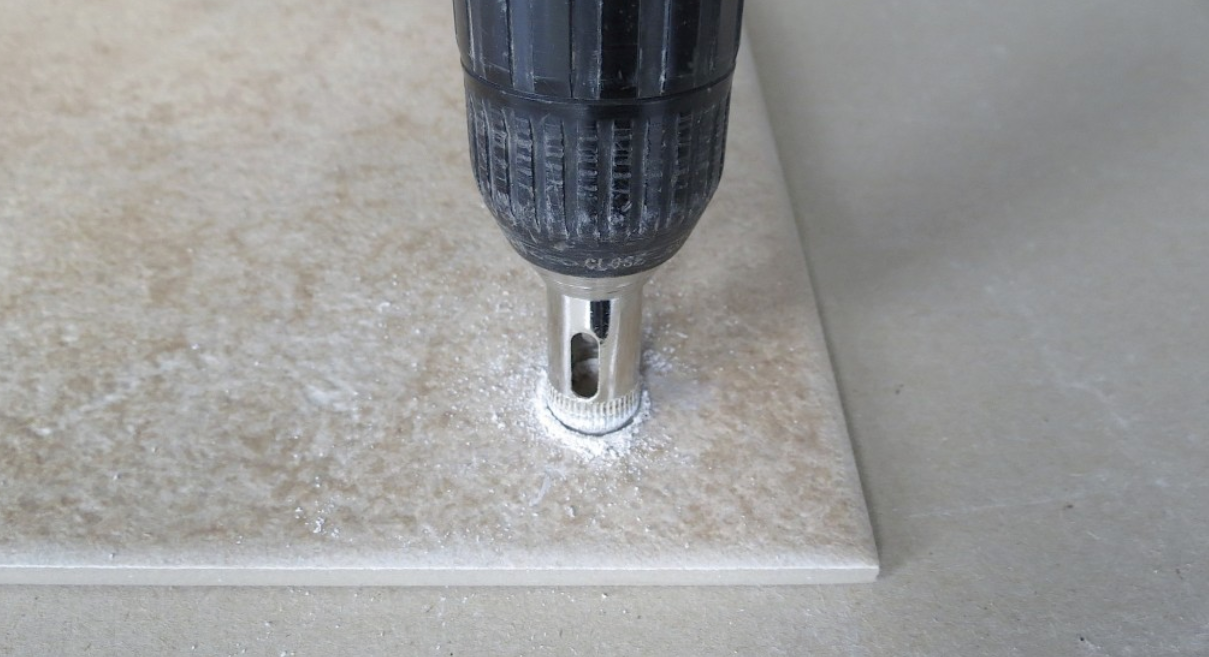
· Holator: for drilling larger holes, often used for piping or electrical installations.
Common Use for Ceramic Tile Drilling Tools
These tools are mainly used to create precise holes in the tile without cracking or breaking the tile. This precision is crucial when handling tiles, as they are very brittle and prone to fragmentation. Tile drilling tools are essential for the installation of various fixtures (such as towel racks, shower heads, and power outlets) in tiled areas.
They ensure that the tiles remain intact and maintain their aesthetics while allowing for functional installation. Whether you are renovating the bathroom or installing a kitchen backgate, using the correct tile drilling tool can ensure that the work is done cleanly and professionally, preventing costly damage and maintaining the integrity of the tile surface.
Why It Is Important to Maintain the Ceramic Tile Drilling Tools
Life Tools
Proper maintenance can significantly extend the service life of ceramic tile drilling tools. Regular maintenance (such as cleaning and lubrication) helps prevent wear and keep the tool in optimal condition. When tools are well maintained, they remain sharp and efficient, thus reducing the need for frequent replacement. This long life not only saves money but also ensures that your tools are readily available.
Cost-Effectiveness
Maintenance tools are a cost-effective strategy. By putting a small amount of time and effort into regular maintenance, you can avoid the high cost of frequent purchases of new tools. Well-maintained tools have better performance and a longer service life, thus reducing the overall cost of replacement and maintenance. This approach is particularly beneficial for professionals who rely on tools for their day work, as it reduces operating costs.
Safety Precautions
Tools in good use are critical for safety. Blunt or damaged tools may slip or break, causing accidents and injuries. Regular maintenance helps to detect and resolve problems before they become dangerous. Ensure that your tools are clean, sharp, and well-lubricated to minimize the risk of accidents and make your work a safer environment. Well-maintained tools can also be more predictable, providing better control and precision during use.
Detailed Cleaning Process
Clean After Each Use
Tools must be cleaned immediately after use to remove dust and debris from the tiles. This prevents the material from stiffening thus making it more difficult to remove later.
Tool and Materials Required for Cleaning
You will need:
· Soft brush
· Soft cleaning agent
· Clean cloth
Step-by-Step Cleaning Guide
1. Brush off debris: Use a soft brush to remove any loose dust and debris.
2. Clean with detergent: mix the gentle detergent with water, and then gently scrub the tool.
3. Complete thoroughly: ensure all soap residues are removed.
4. Fully dry: Use a clean cloth or let them dry.
5. Use compressed air: or, use compressed air to blow off any residual moisture in inaccessible areas.
Lubricating
The Importance of Lubrication
Lubrication reduces friction and prevents wear of moving parts. It also helps to prevent tools from rust and corrosion.
How to Properly Lubricate Your Tools
Apply a small amount of lubricant to the moving parts of the tool. Wipe off the excess lubricant to prevent the accumulation of dust and debris.
Hing and Replace Parts
Identify the Blunt or Worn Parts
Regularly check the drill and other parts for signs of wear, such as blunt edges or fragmentation.
Sharpen Skills
For diamond drills, carefully polish the edges using a diamond file. For carbide drills, a grinding wheel may be used. Always follow the manufacturer's instructions.
When and How to Replace the Parts
Replace parts that are badly worn, and cannot be polished or badly damaged. Ensure replacement is compatible with reputable suppliers.
Check for Damage
Check the Procedures Regularly
Check the tools thoroughly at least once a month. Check for cracks, gaps, and other signs of damage.
Common Signs of Damage
· Drit breaks or broken
· Rust or corrosion
· Parts are loose or damaged
Repair Minor Damage
Minor damage (such as small debris) can usually be repaired with a file or grinding wheel. For the more serious damage, please consider a professional repair service.
Correct Storage Method
Ideal for the Storage Conditions
Store the tools in a dry, cool place to prevent rust and damage. Use the toolbox or toolbox to protect them from physical impact.
Storage Tips to Prevent Rusting and Damage
· Use silicone packs to absorb moisture.
· Save the tool in the original box.
· Hang the tools on the nail board to avoid confusion.
Handling Skills
Act Correctly to Avoid Damage
Carefully handle tools to avoid falling or hitting hard surfaces. Be sure to use suitable tools to avoid causing unnecessary stress.
Best Practices in the Use Process
· Apply a stable, uniform pressure when drilling the holes.
· Let the drill bit work by itself; don't force it.
· Use a coolant or water to reduce heat build-up.
Special tips for different types of ceramic tile drilling tools
Bort Bit
· Use water as a coolant to prevent overheating.
· Store in a dry place to avoid rust.
Carbide Drill
· Hone it regularly to maintain efficiency.
· Avoid the use of extremely hard materials to prevent fragmentation.
Hole Saw
· Ensure that the guide drill bit is sharp and firm.
· Use the backplane to prevent the tiles from cracking.
Conclusion
In the field of tile technology, the maintenance of tile drilling tools is a reflection of dedication and precision. By implementing comprehensive maintenance procedures including inspection, cleaning, lubrication, sharpening, and replacement parts, you can not only extend the life of the tool, but also improve the quality of your work to an unparalleled level. Embrace the excellence of the TILER brand and embark on the mastery and excellence journey to the tile world.
By integrating the principles outlined in this guide into your practice, you can consolidate your expertise base and set new standards of excellence in the maintenance of tile drilling tools. Enhance your craftsmanship, follow the TILER brand tradition, and create a path to unparalleled success in ceramic tile art.
As a professional custom tiling tools manufacturer, TILER has 28 years of experience in the tile industry, has extensive experience in tiles and knows which tools should be used to achieve the results you want. Since the invention of the first ceramic tile cutter, we have been providing a range of innovative solutions for home renovation and remodeling projects. With over 28 years of experience, patented technology, and unmatched production capacity, TILER has become an industry leader, serving customers in more than 130 countries.


